

Kiwis have always been loved by the public for their perfect balance of sweet and sour and their vibrant flesh color. However, once ripe, fresh kiwis soften very quickly and have an extremely short shelf life, which troubles many kiwi lovers. How can we perfectly preserve the deliciousness and nutrition of kiwis? The answer is—the HFD/SFD/DFD series freeze dryers.
Through low-temperature vacuum dehydration using a home freeze dryer, you can not only process them into light, crispy, and easily packable snacks, but also effortlessly achieve the DIY freedom of making freeze-dried fruit and vegetable crisps at home. Today, we will explain in detail how to use the BOTH freeze dryer to make high-quality freeze-dried kiwis.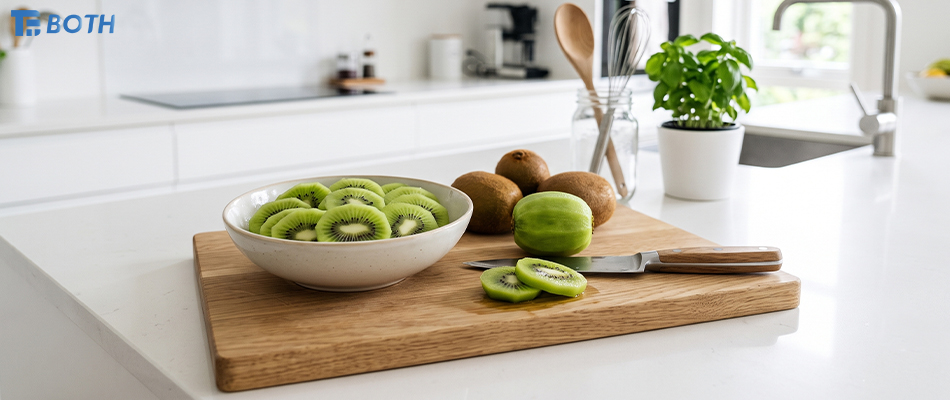
Why Choose a Home Freeze Dryer to Process Kiwis?
Traditional baking or natural sun-drying often destroys the nutritional content and appearance of fruits, while freeze-drying technology offers a completely different, high-quality experience:
Ultimate Retention of Nutrition and Flavor: Compared to high-temperature drying, low-temperature vacuum processing helps minimize the impact of heat treatment on the kiwi’s color, fruity aroma, sweet-and-sour flavor, and certain heat-sensitive components (such as its rich Vitamin C).
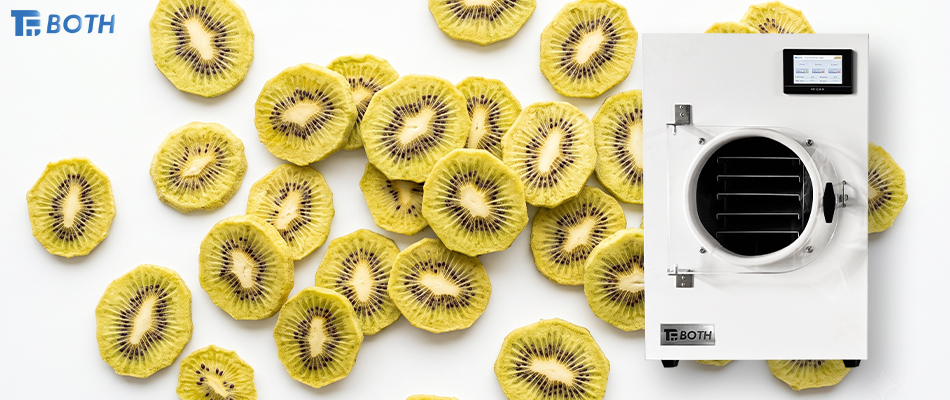
Restoration of Natural Appearance: Freeze-drying technology allows kiwi slices to maintain a relatively natural appearance after dehydration, without shriveling or shrinking.
Extended Shelf Life: Thoroughly dehydrated freeze-dried kiwis can be stored for months or even years in a sealed, light-proof environment, without the need for any added preservatives.
Step-by-Step Breakdown of Making Freeze-Dried Kiwis
To make freeze-dried kiwis with excellent taste, you not only need a high-performance freeze dryer, but the preliminary preparation is equally crucial.
1. Raw Material Pre-processing: Sorting and Cleaning
Before kiwis enter the freeze dryer, strict raw material sorting usually needs to be completed. It is recommended to choose kiwis with moderate ripeness, firm flesh, and no rot. Follow this with thorough cleaning and peeling to ensure food safety and hygiene.
2. Precise Slicing: Thickness Determines Success or Failure
Kiwi flesh is soft, and the slice thickness will directly affect the freezing speed and drying process, making this a key link in the production process. When producing commercially or doing home DIY, the processing specifications should be determined based on your desired finished taste, slice integrity, and subsequent packaging methods. Typically, a thickness of 5-8 mm is an ideal choice.
3. The Core Freeze-Drying Process
After placing the slices on the trays, you can put them into your home freeze dryer. The operating principle of the machine is divided into two core stages:
Low-Temperature Freezing: The freeze dryer will rapidly freeze the kiwi slices at a low temperature, solidifying the moisture in the flesh to form ice crystals.
Vacuum Sublimation: Subsequently, the machine operates in a vacuum environment. Through the physical phenomenon of “sublimation,” the ice crystals are directly converted into water vapor and discharged, thereby gradually removing the moisture from the flesh.
Whether as a daily healthy leisure snack or paired with cereal and yogurt for a nutritious breakfast, freeze-dried kiwis are an excellent choice. Owning a high-quality home freeze dryer not only allows you to process kiwis but also makes it easy to handle various fruits, vegetables, meats, and even pet snacks, putting a healthy lifestyle right at your fingertips.
If you want to learn more about freeze dryers or product details, please feel free to contact us and start your journey of food preservation and gourmet exploration!
Post time: Jul-20-2026